Learn how to create a stunning ceremony arbor!
With these step by step instructions and a video tutorial, you can't go wrong!
We are excited that Wedding Chicks is sharing our DIY Backyard Arbor on their blog today! It’s a fun, easy, and affordable way to have a GORGEOUS wedding arbor in your backyard by Alison Fleck of Bloom Culture Flowers.
With many wedding plans shifting during these times and with micro-weddings on the rise, we thought it may be helpful to show you just how easy and affordable it can be to DIY your own ceremony arbor in your backyard! In this simple DIY tutorial we use six types of flowers and just three types of greenery as we show you how to create a stunning ceremony arbor any bride would be proud of!
Here’s what you’ll need:
-
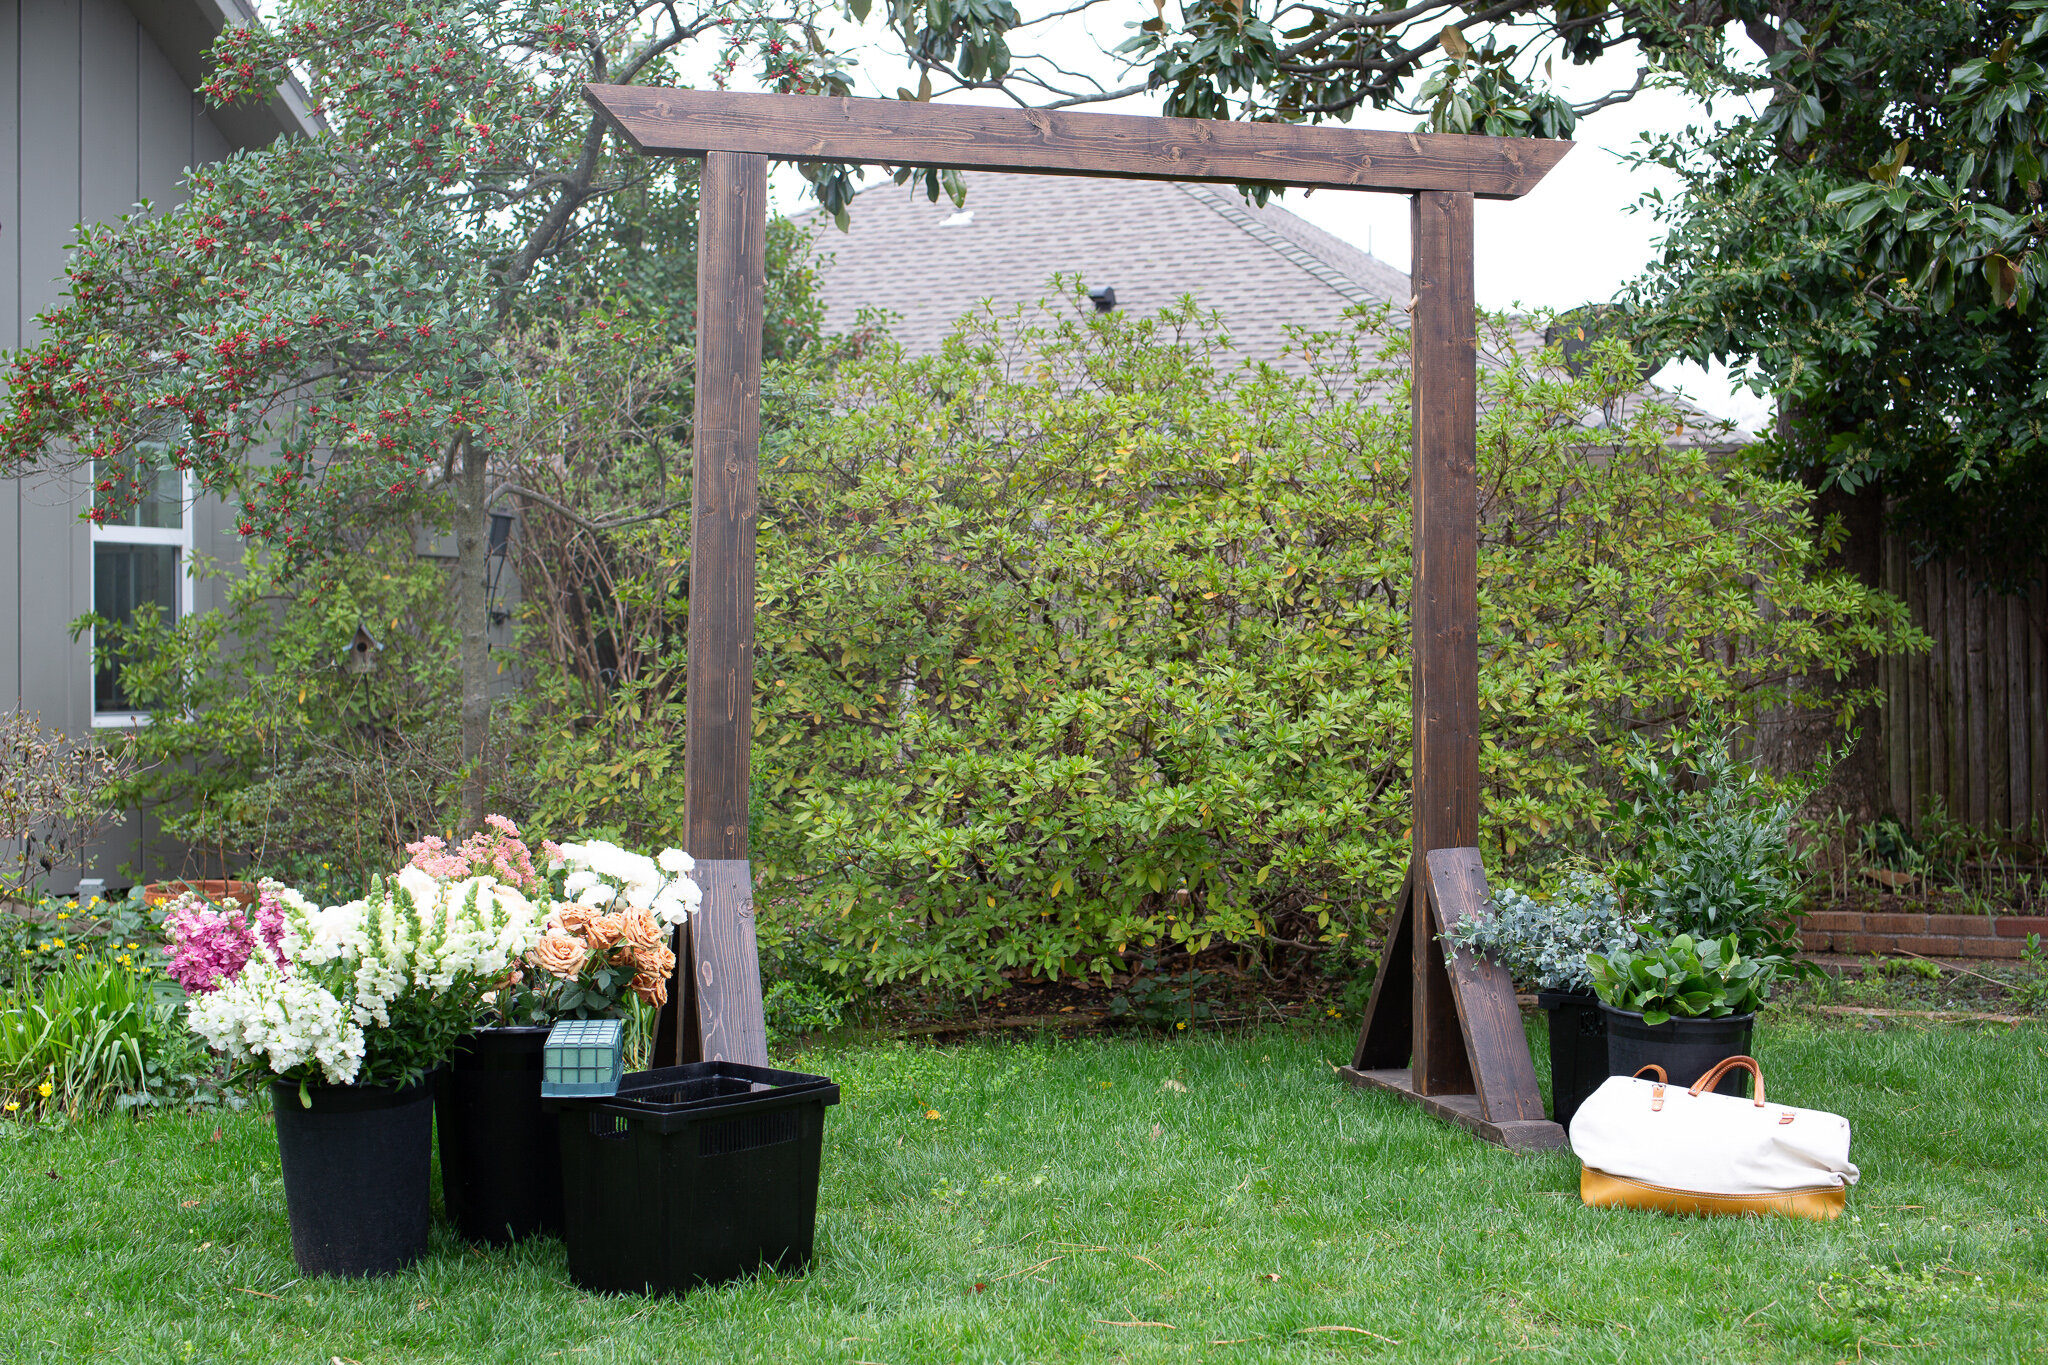
An arbor structure. You can either build, purchase, or rent this. Many cities have great wedding rental companies who will rent arbors for an affordable price. Also check out FB marketplace for steals such as the arbor used in this tutorial!
-
6ft tall (minimum) by 5-8 ft wide are the arbor dimensions we recommend.
-
SUPPLIES:
-
One large floral foam cage for the upper arrangement and one medium floral cage for the lower/middle arrangement.
-
Floral Snips
-
14” Zip Ties
-
Flowers & Greenery: Here is exactly what we used in this tutorial for both arrangements. Recipes for each arrangement will be provided.
-
1/2 bunch Salal/Lemon Leaf
-
1/2 bunch Gunni Eucalyptus
-
1 bunch Italian Ruscus
-
9 Ivory Roses
-
6 Toffee Roses
-
8 Terra-Cotta Carnations
-
5 Stems Mini Carnations
-
5 White Snap Dragons
-
1/2 Bunch Rice Flower
-

Step 1:
Soak Floral foam and thread zip-ties through the plastic cage of the floral foam.
 Step 2:
Zip-tie the floral foam cages to the arbor. Be sure to secure the cages tightly so they do not shift or move easily but be sure not to tighten the zip-ties so tightly that they damage the floral foam.

Step 3:
Start with your greenery. We suggest starting with your longer stems of greenery, such as the Italian Ruscus, on the perimeter of the floral cage. Then fill in with the more broad leafed Salal and textural Eucalyptus. This creates a great foundation for your flowers. We start with greenery because it helps elongate your product and helps you to use less flowers. Win-win!

Step 4:
Start with your linear blooms such as the Snap Dragons. Just like we added the long stems of greenery first, this helps create the shape you want and the longer pieces can help create more of a statement. Next, add in your focal flowers such as your roses; distribute these along the foam and make sure they have different stem lengths to help create depth. Keep layering in your other varieties of flowers until you feel like the arrangement is full and looks good from a distance!
Pro Tip:
Make sure you step off the ladder, or take a step back from the arrangement every so often to get a better look of the arrangement. When you’re working up-close and personal on these arrangements, it’s beneficial to take a step back to see holes or areas that may need improvement or, our favorite, to tell you it’s gorgeous and you’re done!
If you get stuck or need a more visual explanation, we have made a video tutorial explaining how to put everything together step by step!
At Bloom Culture flowers we help creative brides stay in-control of their wedding budget and enjoy the most beautiful wedding flowers. Because with us, do-it-yourself doesn’t mean do it alone! We hope you feel inspired as we truly think this arrangement will work for any arbor and it is a wonderful, cost efficient way to have a gorgeous wedding ceremony!
Happy flowering!
Here are the flowers and recipes used in this design:
 |
 |
Leave a comment