

So you’re planning on taking the DIY-approach to your wedding flowers! At first, it feels all exciting and you’re filling your Pinterest board with hundreds of beautiful flowers… but then you realize there are a few more pieces to the puzzle that you haven’t quite yet figured out.
-
How many flowers do I need?
-
What varieties look good together?
-
How do I make the flowers stand up properly in the vase?
-
And what about those big arrangements for the church?

No worries! You can do this.
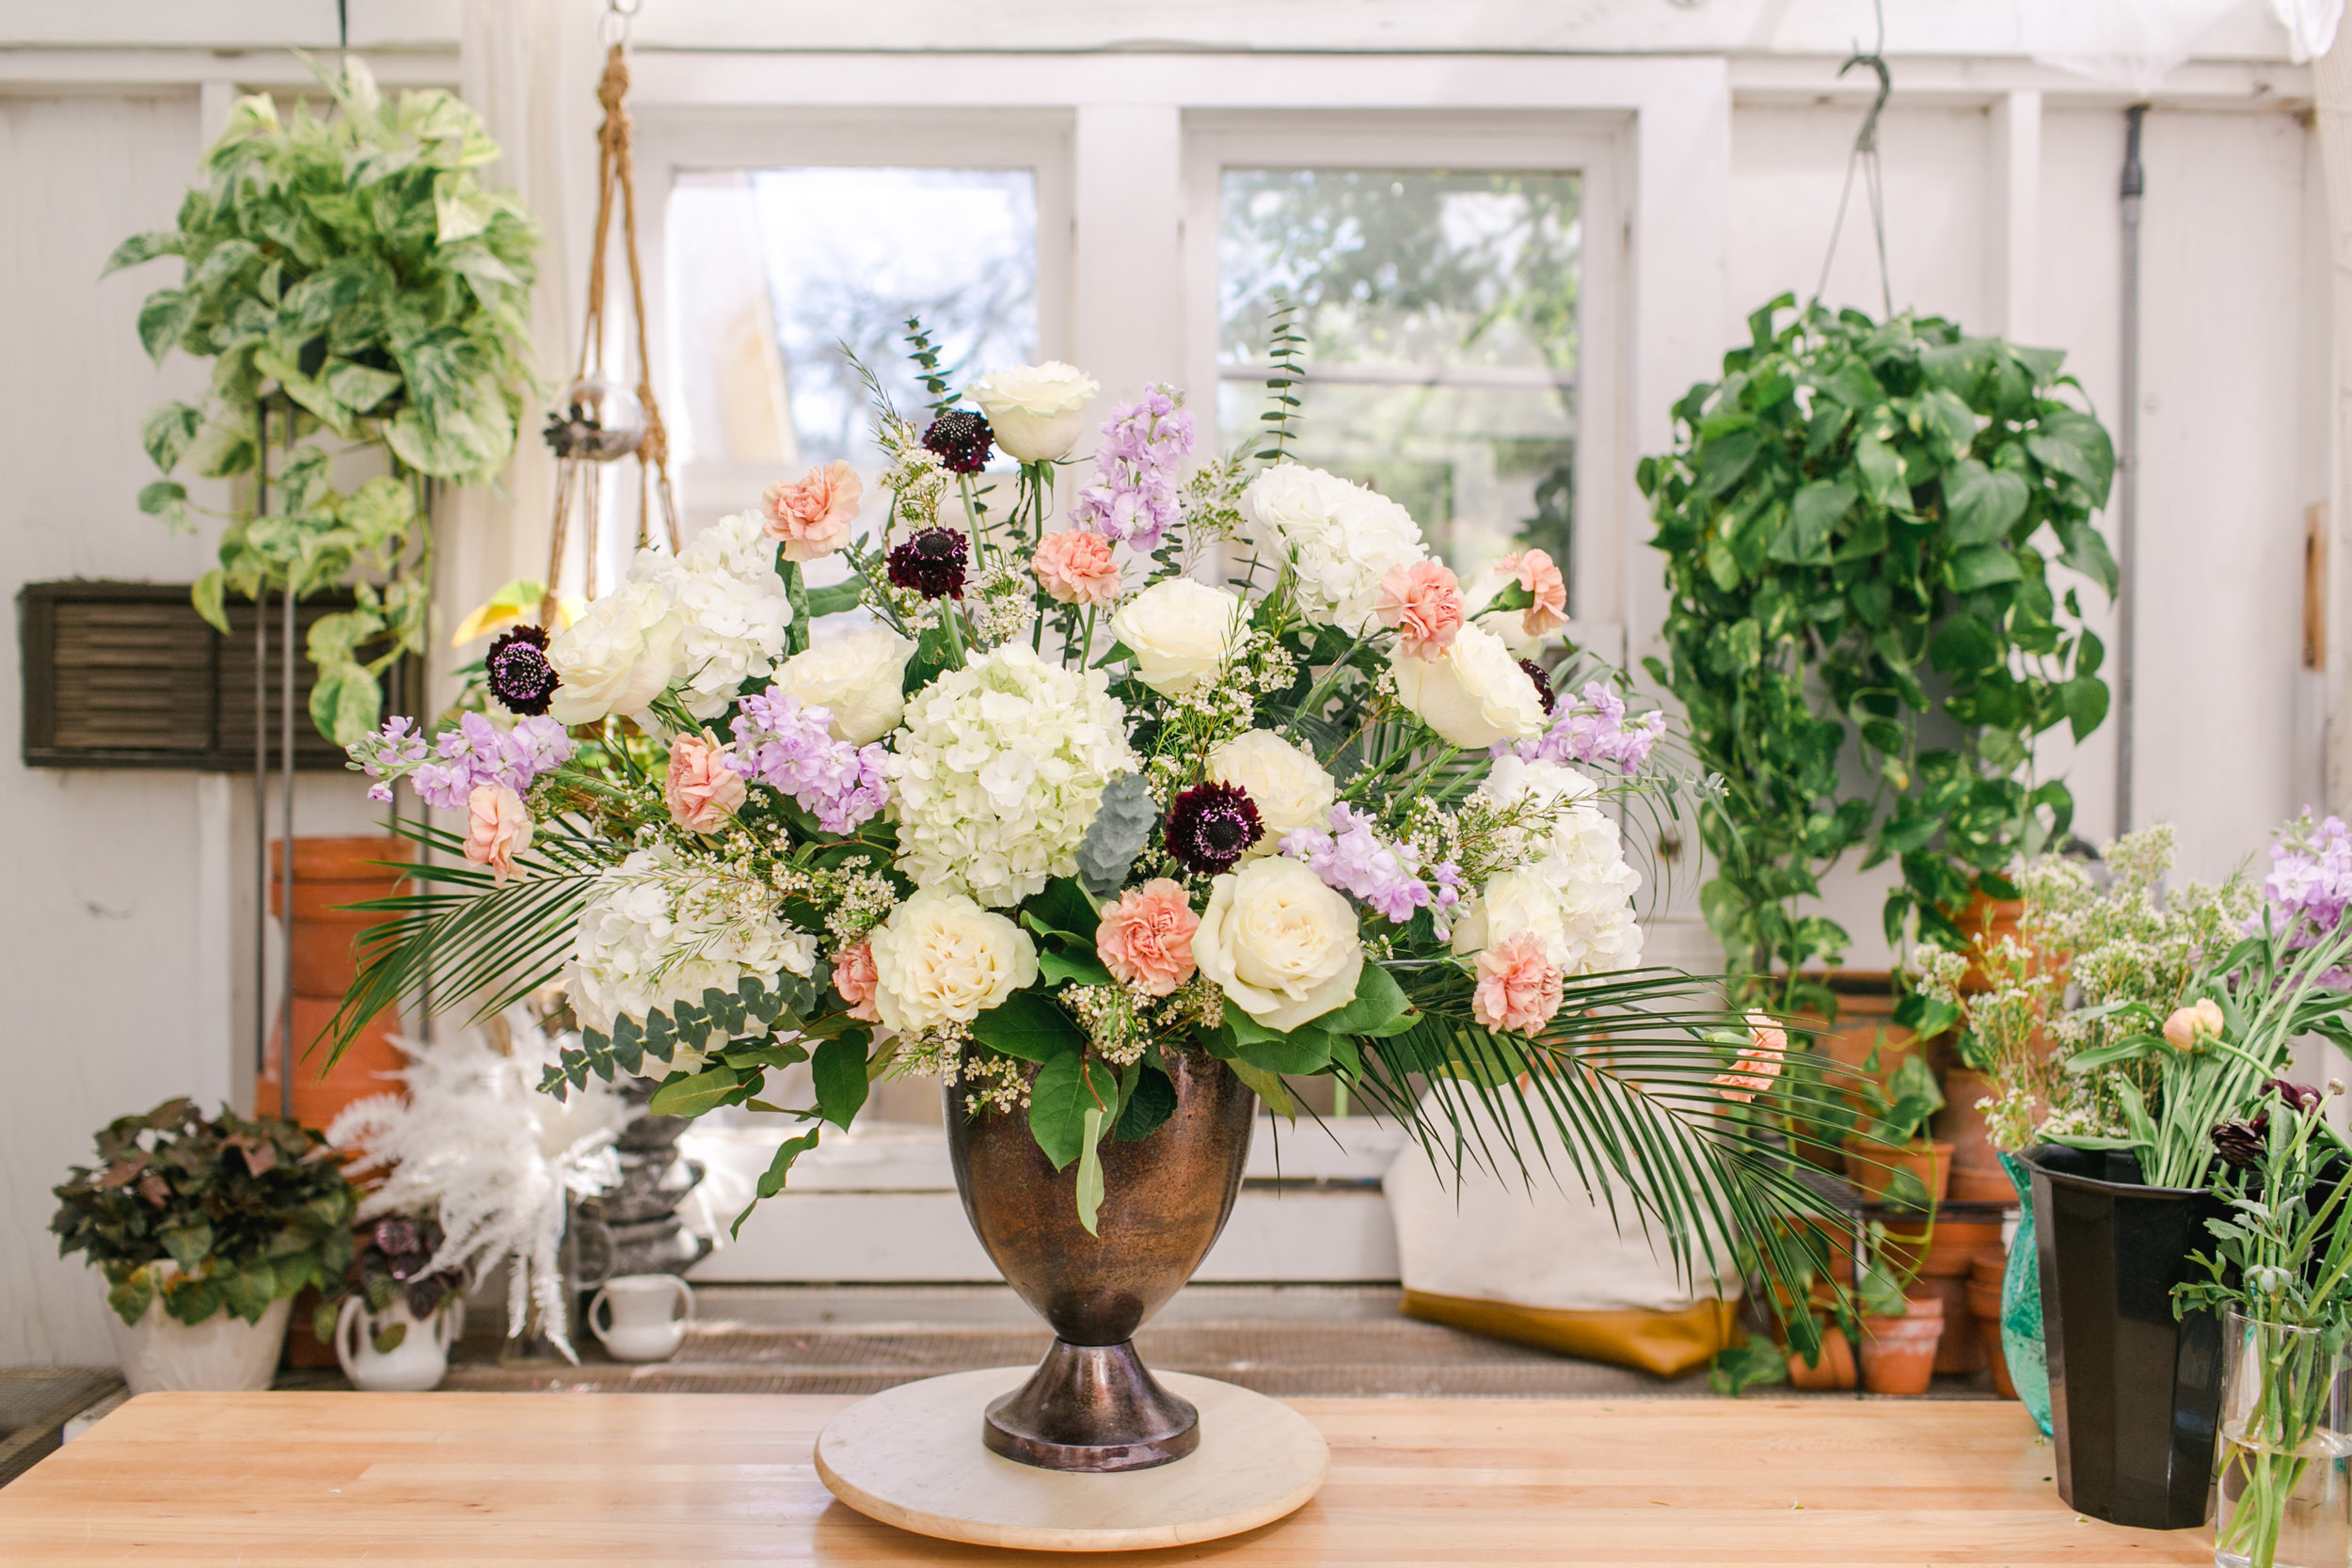
Here’s a helpful tutorial from DIY wedding flowers experts Bloom Culture where they tell you exactly what you’ll need, and then tell you step-by-step how to bring a beautiful ceremony arrangement to life. There’s a recipe with a list of ingredients, and then a method to follow.
It’s just like baking, but with zero calories. Winning!
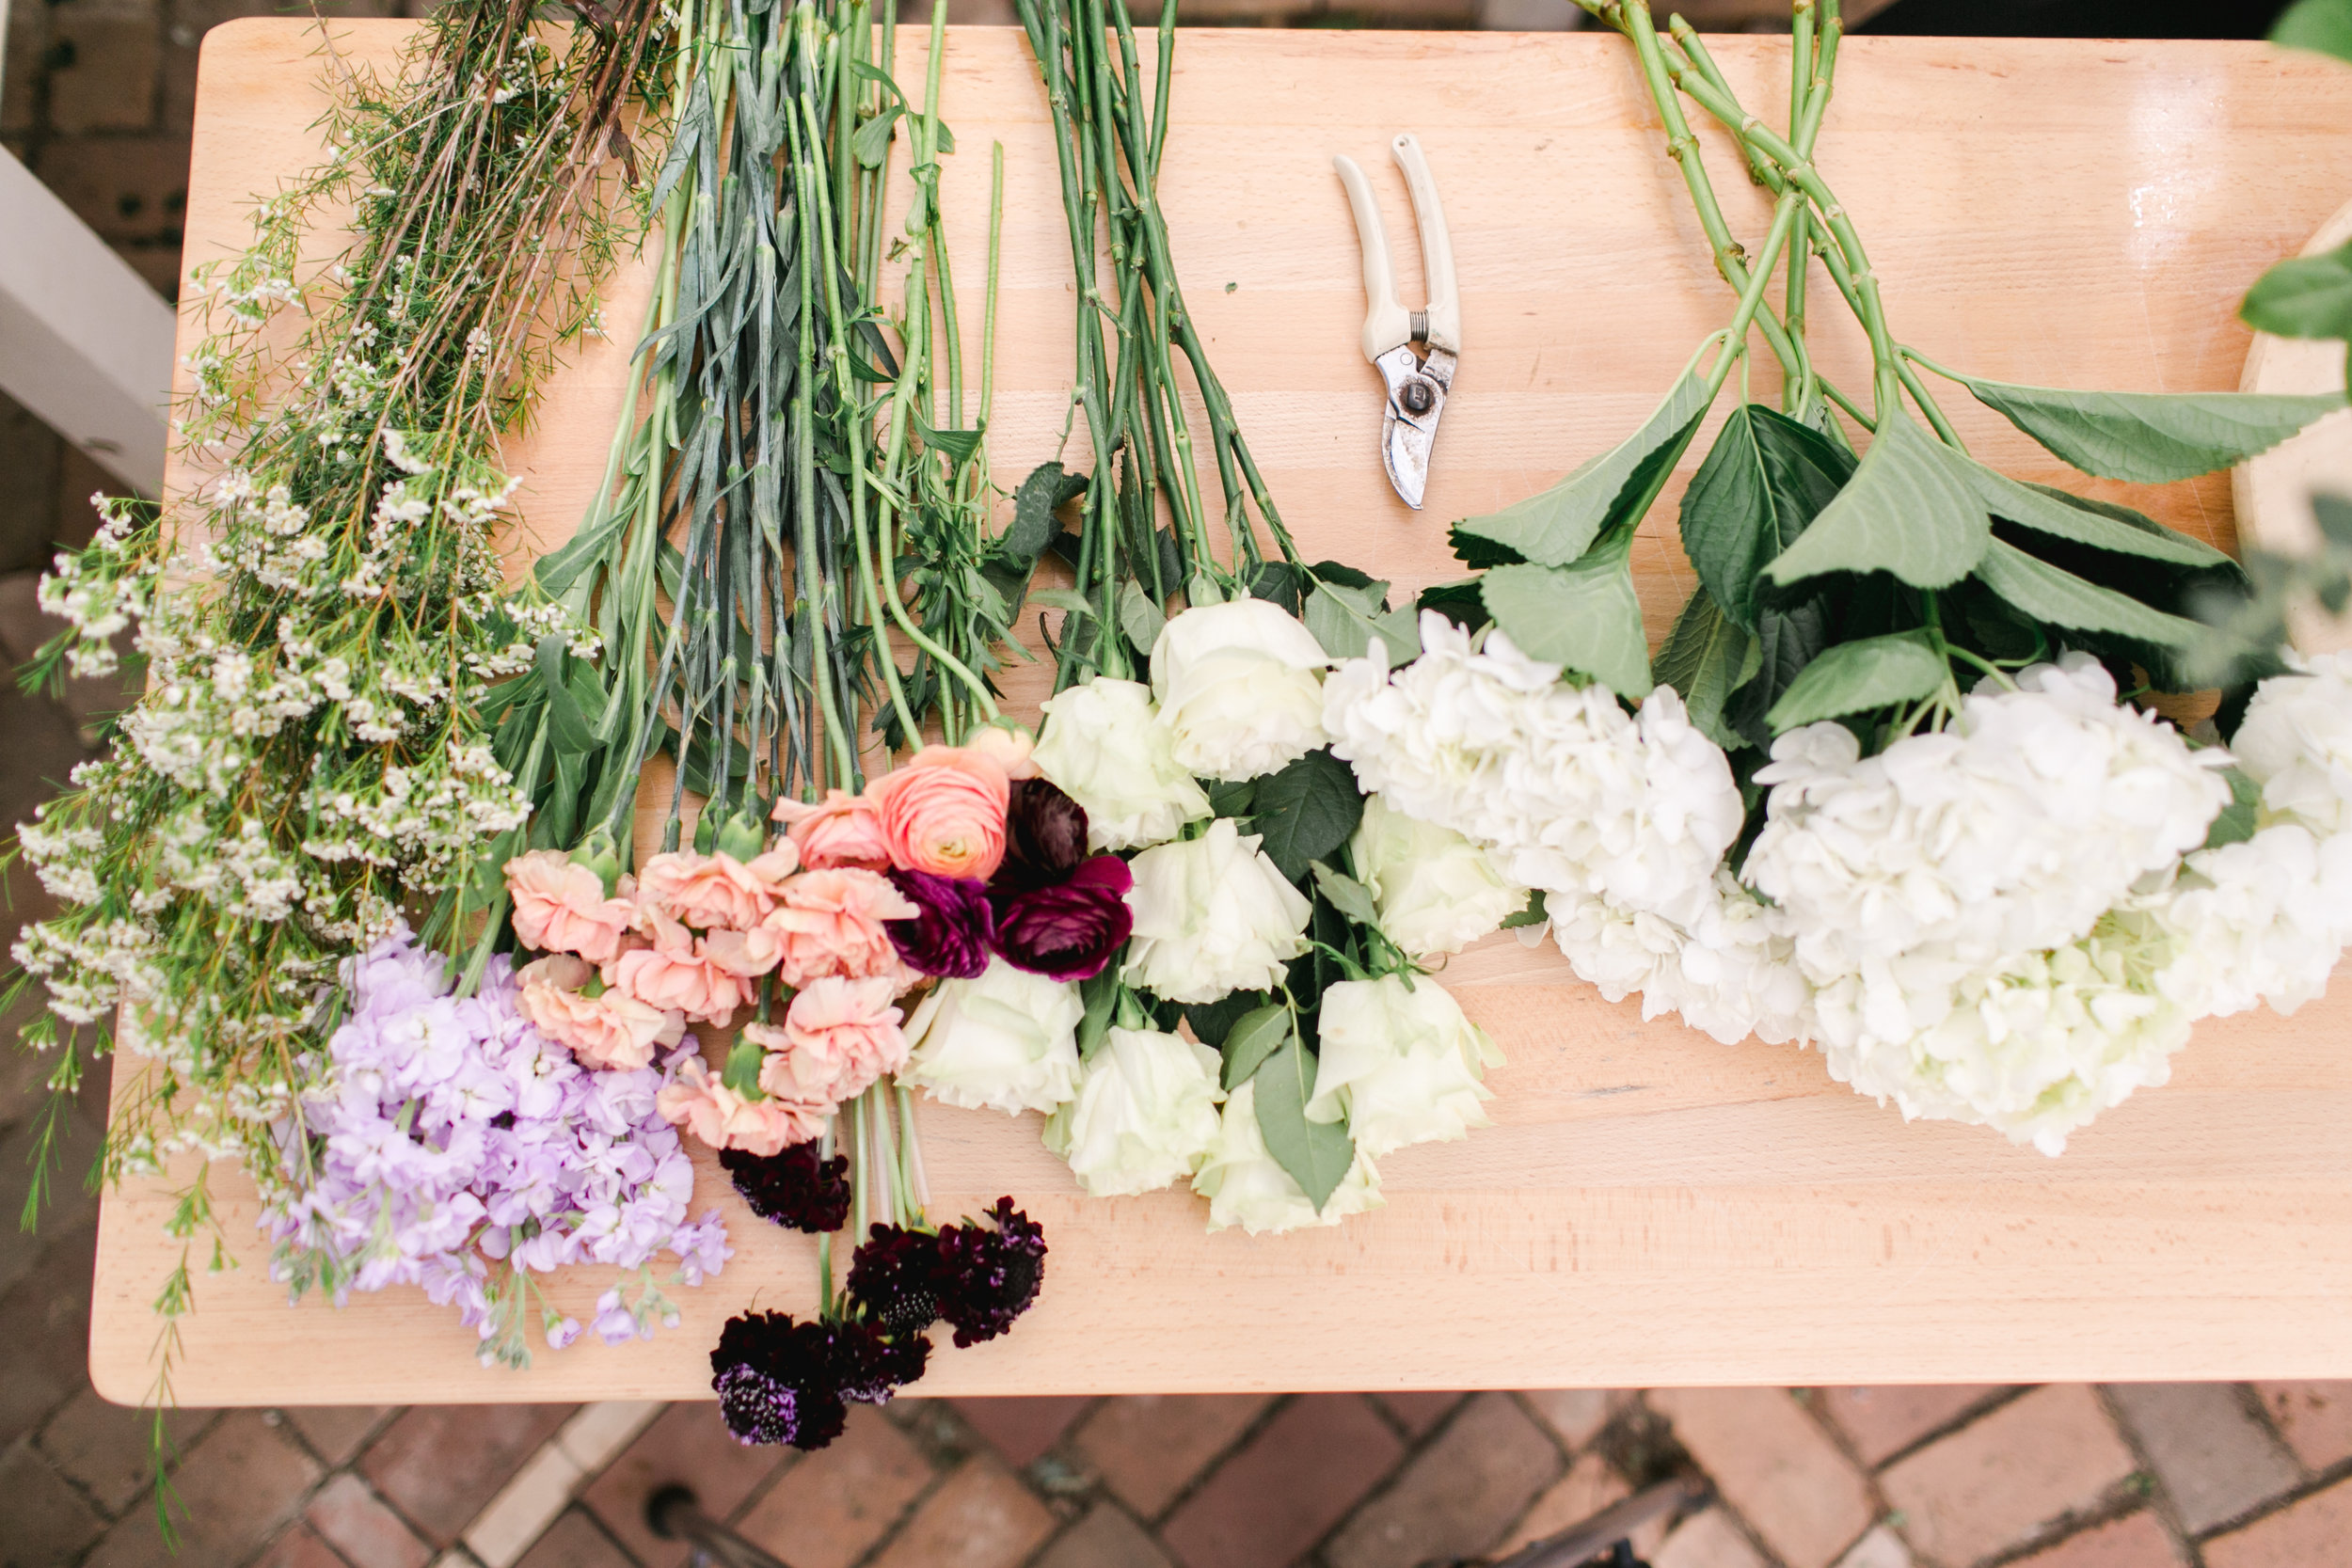
Floral Recipe:
(The Ingredients)
- 1-1.5 bunch Salal/Lemon Leaf
- 4-5 Robellini Palm
- 1/2 bu eucalyptus
- 5 white hydrangea
- 5 lavender stock
- 12 white premium roses
- 10 terra-cotta carnations
- 1/3 bunch white wax flower
Tools and Supplies:
- 1-2 blocks wet floral foam
- Snips
- Floral tape
- Large Vase (We suggest 9”-12”)

How to: (The Method)
1. Soak floral foam (foam is easier for 2 reasons, the flowers stay in place and no water makes it WAY easier to transport)
2. If you’re using a large urn or vase, fill the bottom so you don’t have to use more foam or product to fill the vase. Here we’ve used a plastic vase to cut down the volume of the vase
3. Tape a light X across the top of the vase to keep the foam in place.
4. Start with greenery. For the greenery, we usually allot a quarter of a bunch or half a bunch. For large pieces like this, we usually allot 1/2 to a whole bunch. We typically use 2-3 varieties of greenery. I start with one variety, here I stated with Robelini to create reach and add volume, then I layered in salal (or commonly called Lemon Leaf) then a few stems of Baby Blue Euc.
Pro Tip: using more greenery cuts down on the number of flowers you need to use thus saving you money!
(Imagine me making it rain with your savings!)
5. Once you’ve “greened” your vase, and you think it looks good and full - your done! JK. But - we typically say if it looks good without floral you’re setting yourself up for success. By the way, not every hole or space has to be filled, leave room for the flowers! Also, if you don’t use the full allotment of greenery, that’s great! You can always save it for later if you need to fill in some areas or use it in other areas of your wedding. Win-win.


Now for the Flowers
6. We always start with the biggest bloom which is our hydrangea. This way you aren’t trying to fit it in and squash other blooms at the end. Place the blooms at varying heights. You want a statement arrangement so don’t be afraid to keep the stems long.
7. Next, add in the lavender stock. This bloom is great for its linear structure and it adds diversity and depth to the arrangement. *** Remember, keep the stems long for a grand arrangement!
8. Roses come next. Don’t let the rose deter you! These are not your “standard” standard roses. The petal structure of this variety looks like a garden rose but is actually a standard rose. Great, but what does that mean? It means huge bloom with garden rose appearance but not on a garden rose budget. Half the cost of a garden rose and all the appeal. Again, win-win! (With Bloom Culture we will help you get the most bang for your budget without sacrificing aesthetics or your overall vision.)


9. Next you want to layer in the smaller blooms like the scoop scabiosa and carnations. (Whispers to her friend, did she just say carnations? gasp!) Yep! These are not the carnations you’re used to. These are terra cotta carnations. And they are lovely. They have the perfect color and their petal structure is AMAZING! Not to mention their price-point can’t be beat and they come 25 to a bunch! Whaaaat? You’re welcome. Sprinkle these babies and the scabiosa in per the quantity in the recipe and we’re almost done!
10. Last but not least is our old gal pal Wax Flower. This is the perfect filler flower, the scale is perfect for filling holes or gaps and make the arrangement feel complete.

Finishing Touches:
Fill in with any leftover greenery you may like and look over the arrangement to make sure it looks full and prancy. I typically make these arrangements the day before the wedding, keep the foam moist, and store in a cool location out of the sun.
** Full Disclosure. We usually front-load these babies which means, put the majority of the flowers in the front because no one usually sees the back. Since they typically face one direction at the ceremony and don’t need much going on in the back, let’s put your money where people are going to see it. Now they aren’t bare but just not as full as the front. Think of it as a reverse mullet.
Another Pro-Tip. RE-USE THESE!!!
Delegate someone to move these bad boys from your ceremony to a spot at the reception. They are statement pieces and we don’t want you to pay for and make them, to only be used for 30 minutes (or however long your ceremony is). We like to flank a sweetheart table or place them at the entry, or photo booth, where-ever, just promise me you’ll re-use them!!!

Share your story online with the hashtag #bloomcultureflowers to be featured!
Wondering how you can do this with all of your wedding flowers? Bloom Culture specializes in working with DIY brides to remove all of the guess-work; we do the hard part so you can do the fun part. We will help you set a floral budget, determine the best flower varieties to use, and write “flower recipes” that tell you exactly what ingredients you’ll need for every bouquet, centerpiece, boutonniere and more, AND give you video tutorials of how to do it. With all of the prep done, they’ll then set you up to have the flowers delivered direct to your door! (insert slow clap here)
Leave a comment